Friday, October 24, 2014

Final Folio

After a semester of Photography class, and after so many shoot inside and outside university premises, we are required to make a printed layout of our best shots. I included photos which were before and after this semester and with all the new things I've learned from class, there were so many things I've done wrong in my old shots, and with that, I'm very grateful to have taken up this Photography class with our Professor, Sir Rey Mendoza.

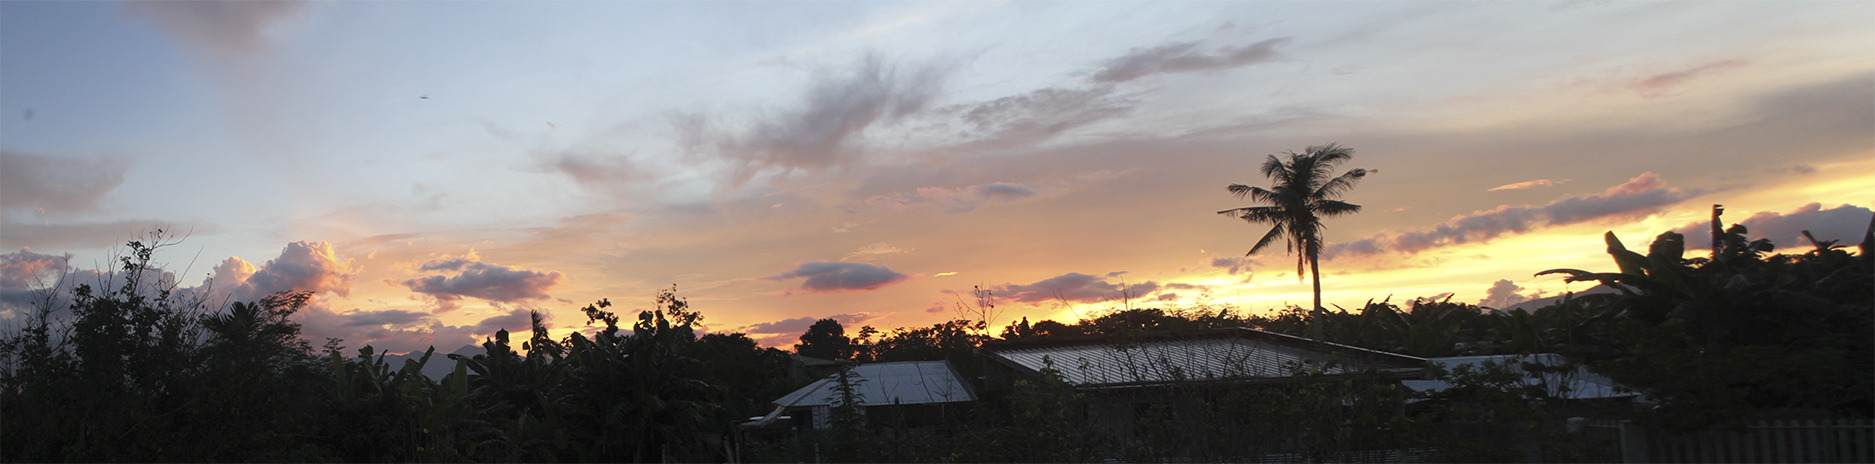
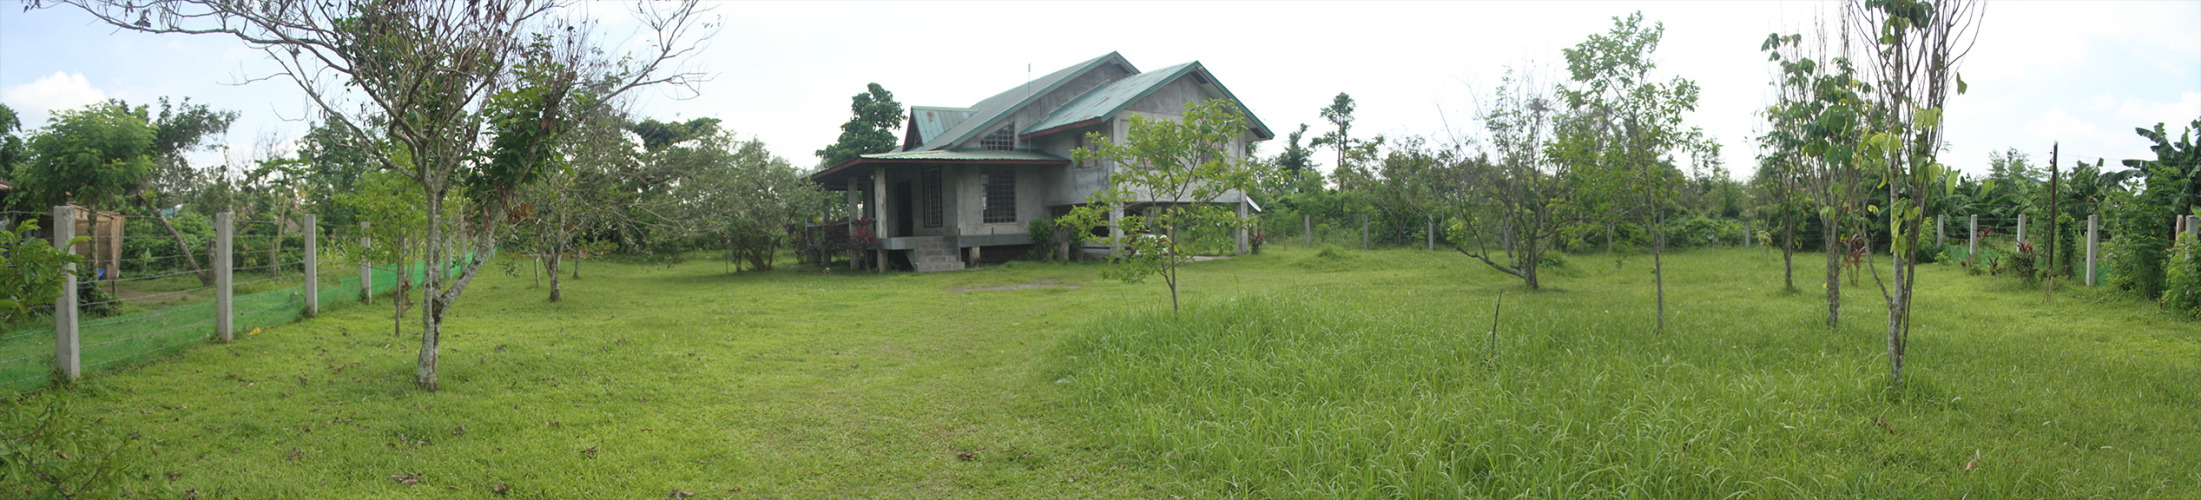
I remember on the first day we were asked about why we want to learn Photography, and I answered: "Even though I already have experience how to use an SLR, the settings like Aperture, ISO and Shutter Speed and some others aren't really cleared up for me, I wanted to know what they are for. ", and after months of attending classes, my goal has been achieved and my questions has been answered, I learned a lot more than just the settings but also how to adjust it according situations.

Anyway, I have photos of our finals project which is the printed portfolio.


Pano?

We barely touched Photoshop or post processing with the pictures we took during Photography class but since manually stitching Panoramas would be hard, we dived right into Photoshop. 

First you'll need more than 1 shot of photos of any chosen surrounding, make sure when taking the next shot of the series, you shoot at least 20-50% of the previous shot so it would leave some room for the stitching.

And now for the stitching part, you have to open up the photos in Photoshop, go to File>Automate>Photomerge, select the "Auto" option under Layout, if your photos aren't in Photoshop yet, you can browse it, if its already in it, just click "Add Open Files" then click "OK", then wait until it finishes the stitching.

Make sure every shot has the same camera settings and in line with all the shots.

After it has done processing, you can just crop it.

Here are examples of Panoramas:


Wednesday, October 8, 2014

A Bridge I Thought I Wouldn't Cross


Adobe has a lot of branches when it comes to softwares which are mostly multimedia production related programs. In the Creative Suite series, one of the new addition to the family was Adobe Bridge. At first, Bridge was something I'd usually brush under the rug or panic when I accidentally click the "Browse in Bridge" option under the File menu in Photoshop and other Adobe products I'd usually use but since its a requirement for us to study the mentioned program, I've found reasons to appreciate and actually use it.

So what is Adobe Bridge exactly? To my understanding, it is a program that is hooked up to the Adobe System and Softwares, like the name, it bridges out to these other programs. Bridge's use is that you can organize files with its tagging, rating, and filtering system, process or edit files without having to open them one by one and do changes to several with one click but Adobe Bridge lacks the manipulating or editing capabilities like Photoshop or Lightroom so that's why its tied with the Adobe products.

In simpler terms, Adobe Bridge is used for organizing files.


In our second year in studying Multimedia Arts and having a Photography class this semester, we are automatically assigned to cover big events that happens around the campus. Since there will be more than one student to do the coverage, photos and videos that were taken during the events needs to be compiled for output submission of our organization and I asked one of my classmates, who was one of the photographers of the events, "Are they using Bridge for the files?" and they said "No." and I answered "Well, they should.".